H1: What Not to Do with Sourdough: Avoiding Common Mistakes
Baking sourdough can be challenging, and understanding what not to do with sourdough is key to avoiding common pitfalls.
Sourdough is a labor of love, a unique bread-making process that demands attention, patience, and care. Whether you’re a seasoned baker or a curious beginner, understanding what not to do with sourdough can be the difference between a perfectly tangy loaf and a flat, lifeless one. This article dives into common sourdough mistakes, covering everything from preparation mishaps to fermentation blunders. By the end, you’ll know exactly what to avoid to ensure your sourdough journey is a success.
Let’s start with the essentials of sourdough, setting the foundation for avoiding missteps.
Introduction to Sourdough
Understanding Sourdough Basics
Sourdough isn’t your average bread—it’s a living entity powered by a dynamic blend of wild yeast and lactic acid bacteria. This natural fermentation process gives sourdough its signature tang and airy crumb. But it’s not as simple as mixing ingredients and waiting; sourdough demands precision and care.
At its core, sourdough involves three key elements:
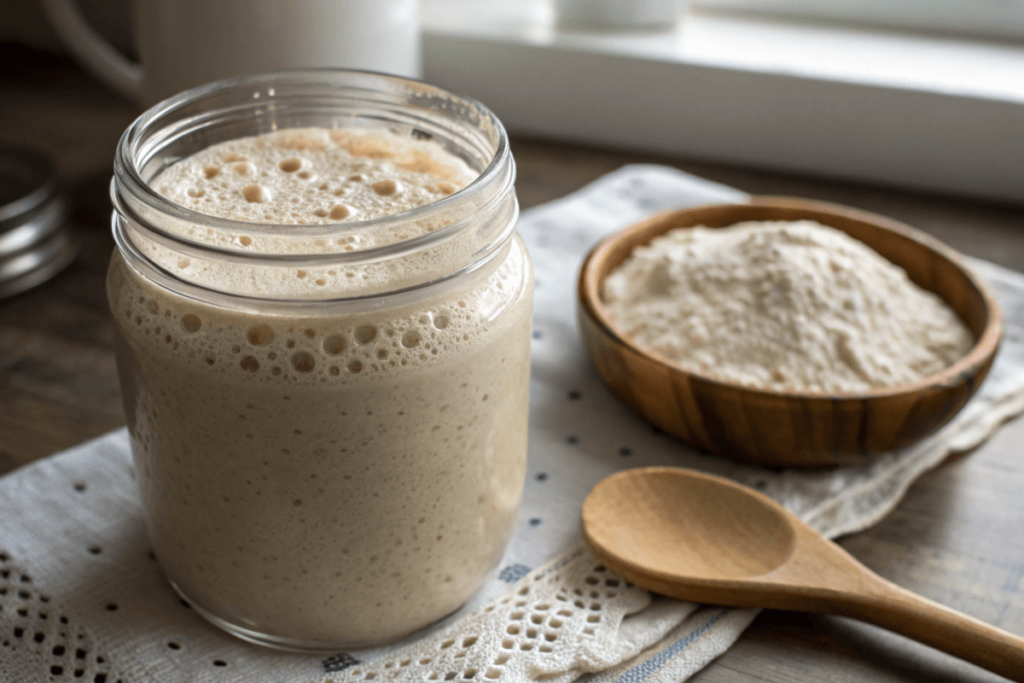
- The Starter: A bubbly mixture of flour and water teeming with natural microorganisms.
- The Dough: The foundation of your bread, created by mixing the starter with more flour, water, and salt.
- Fermentation: The magic moment when flavors develop and dough texture improves, thanks to the wild yeast’s hard work.
When you respect these elements, sourdough rewards you with delicious results. Neglect them, and you’re left wondering, “What went wrong?”
The Importance of Avoiding Mistakes
Let’s face it—what not to do with sourdough is often just as important as knowing what to do. Common errors, like skipping fermentation time or mishandling the starter, can turn your dreams of artisanal bread into frustration. Recognizing these pitfalls early on can save time and effort, ensuring your bread rises to the occasion.
Why Sourdough is Unique
Unlike bread made with commercial yeast, sourdough thrives on natural processes. It’s highly sensitive to environmental factors like temperature and humidity, making it a test of both science and art. But don’t worry—understanding the basics and staying patient will have you baking like a pro in no time.
Common Preparation Errors
What Not to Do with Sourdough Measurements: Avoid Skipping Precision
“Skipping precise measurements is a classic example of what not to do with sourdough.”Sourdough baking is more science than guesswork. Unlike some recipes where you can eyeball ingredients, sourdough demands precision. Skipping accurate measurements can wreak havoc on hydration ratios, leading to dough that’s too sticky or dry. When bakers fail to weigh ingredients—especially flour and water—the dough consistency often suffers.
To avoid this, always use a kitchen scale. Measure every component carefully to maintain the delicate balance sourdough requires. Precision may seem tedious, but it’s a small step toward that perfect loaf.
Why Rushing Fermentation is What Not to Do with Sourdough
Patience is the cornerstone of sourdough success. Many beginner bakers make the mistake of cutting fermentation short in an attempt to save time. Unfortunately, this haste results in underdeveloped flavors and a dense crumb. Sourdough relies on slow, natural fermentation, allowing wild yeast and bacteria to work their magic.
If you’re short on time, it’s better to plan your bake around your schedule rather than rushing the dough. Using techniques like cold fermentation can provide flexibility while ensuring flavors fully develop.
Troubleshooting Sourdough Errors: Improper Mixing and Kneading
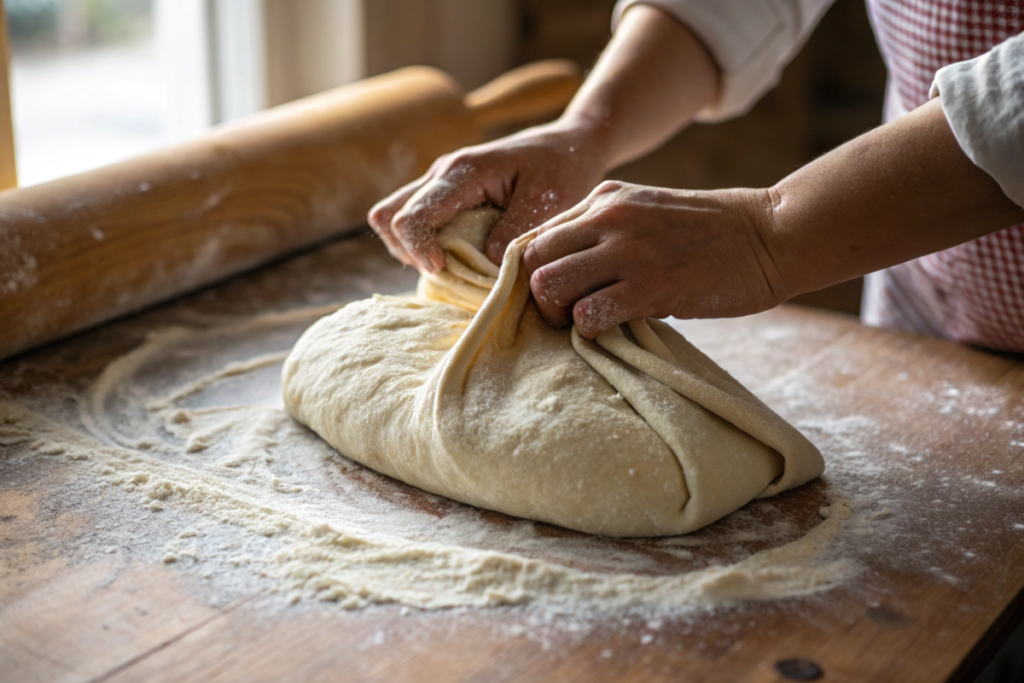
When it comes to sourdough, proper gluten development is non-negotiable. Inadequate mixing or kneading weakens the dough structure, causing it to collapse during proofing or baking. Conversely, over-mixing can make the dough tough and unworkable.
For best results, try the stretch-and-fold method. It gently builds gluten strength without overworking the dough, ensuring the right texture and elasticity. With the right technique, you’ll avoid common pitfalls and create dough that’s easier to handle.
Neglecting the Sourdough Starter
What Not to Do with Sourdough Starters: Don’t Skip Feedings
Your sourdough starter is alive—it thrives when fed regularly and weakens when neglected. An underfed starter loses its strength, resulting in sluggish fermentation and lackluster bread. If you’re wondering what not to do with sourdough, letting your starter starve is a major no-no.

To keep your starter healthy, feed it with fresh flour and water every 12–24 hours when kept at room temperature. For starters stored in the fridge, feed them at least once a week.
Avoid Contamination: Key Sourdough Starter Tips
Using dirty or contaminated utensils can introduce harmful bacteria into your starter, upsetting its microbial balance. This often leads to a starter that smells unpleasant or stops bubbling altogether.
Always use clean, food-safe containers and tools. Wash everything thoroughly between feedings to ensure your starter remains strong and healthy.
Why Temperature Control is Key for Sourdough Success
Starters are finicky about temperature. Too cold, and the microbes go dormant; too hot, and they’re killed outright. Exposing your starter to fluctuating temperatures can disrupt its activity.
For optimal results, keep your starter in a stable environment. Ideally, maintain temperatures between 70°F and 85°F. Monitoring the temperature ensures your starter stays active and ready to transform your dough.
“To learn more about feeding and caring for your sourdough starter, check out our Ultimate Guide to Maintaining a Healthy Starter.”
Ingredient Mistakes
Avoid Low-Quality Ingredients: What Not to Do with Sourdough
The quality of your ingredients directly impacts the flavor and texture of your sourdough bread. Using cheap, low-protein flour or tap water loaded with chlorine can sabotage the fermentation process. For example, chlorine in water can harm the wild yeast and bacteria in your starter, leaving it sluggish and less effective.
Always opt for unbleached, high-protein flour to support gluten development. Filtered water or spring water works best to avoid introducing unwanted chemicals.
What Not to Do with Sourdough: Skipping Accurate Ingredient Ratios
Precision isn’t just for measurements—it also applies to ratios. Forgetting to balance flour, water, and salt can lead to unpredictable results. Too much water creates an overly sticky dough that’s hard to handle, while insufficient salt leaves your bread bland.
Stick to the standard sourdough ratios: 1 part starter, 2 parts water, and 3 parts flour, plus 2% salt by weight. Following this guideline ensures a consistent bake every time.
Choosing the Right Salt: Avoiding Sourdough Errors
Salt enhances the flavor of sourdough, but additives like iodine in table salt can interfere with fermentation. Instead, choose sea salt or kosher salt, which are additive-free and more natural. This simple switch can elevate the taste of your bread significantly.
For more delicious bread-baking insights, check out the recipe ideas on Tester Recipes.
Mishandling Dough
Overproofing and Underproofing: What Not to Do with Sourdough Dough
One of the most common errors when handling dough is mismanaging proofing times. Overproofing allows the dough to rise too much, weakening its structure and causing it to collapse in the oven. Underproofing, on the other hand, results in dense, heavy bread with little flavor.

To avoid these issues, use the poke test: gently press the dough with your finger. If the indentation springs back slowly, it’s ready to bake. If it springs back too quickly, give it more time. But if the dough collapses, it’s overproofed.
Key Dough Handling Tips: Avoid Rough Shaping Techniques
Poor shaping methods can ruin even the best-prepared dough. Being too rough can deflate the dough, while poor shaping techniques affect the bread’s rise and crumb structure.
Be gentle yet firm when shaping. Try to maintain surface tension by tucking the dough edges under while forming your loaf. This step helps the dough keep its shape during proofing and baking.
Ignoring Signs of Readiness
Recognizing when dough is ready can feel like an art, but it’s essential to master. Dough that’s ready for the oven will feel airy and elastic. If it seems sticky or overly dense, it likely needs more proofing or gluten development.
By learning what not to do with sourdough, especially during shaping and proofing, you’ll avoid many of the common pitfalls new bakers face.
Understanding what not to do with sourdough during fermentation ensures you achieve the perfect balance of flavor and texture
Skipping Bulk Fermentation
Fermentation is the heart of sourdough baking. Skipping or shortening the bulk fermentation step is one of the biggest mistakes you can make. This stage allows the wild yeast and bacteria to create the complex flavors and airy texture sourdough is famous for. If you skip it, your bread will be dense and bland.
To avoid this, always let your dough ferment for the recommended time. Look for signs like doubling in size and a bubbly surface. These indicate that your dough is ready to move to the next stage.
Temperature Management During Fermentation
Temperature plays a crucial role in fermentation. If your kitchen is too cold, the fermentation process will slow down, leaving you with underdeveloped dough. Conversely, if it’s too warm, fermentation may happen too quickly, compromising flavor and texture.
For optimal results, keep the dough in an environment between 75°F and 85°F. If your home is chilly, use a proofing box or let the dough rise in an oven with the light on to create gentle warmth.
Impatience in Waiting for Results
Rushing the process is a rookie error when making sourdough. The natural fermentation that gives sourdough its unique character requires time. Trying to speed things up—perhaps by adding extra yeast—may lead to a loaf that lacks depth in flavor.
When you find yourself tempted to cut corners, remember that patience yields better results. By understanding what not to do with sourdough, you’ll avoid these common fermentation mistakes.
Baking Mistakes
Using Cold Ingredients
One of the simplest errors to avoid is using cold ingredients. Cold flour, water, or starter can slow fermentation and make the dough harder to work with. This step is especially critical during colder months when room temperature ingredients are naturally cooler.
Always bring your ingredients to room temperature before mixing. This small adjustment ensures that your dough ferments consistently and is easier to knead.
Overworking or Underworking Dough During Baking
Once your dough is proofed, how you handle it before baking is crucial. Overworking the dough can deflate it, while underworking it can leave the structure weak. Both mistakes result in bread that’s flat or dense.
The key is balance. Handle the dough with care and avoid unnecessary movements before placing it in the oven.
Timing Errors During Proofing
The final proof before baking requires precise timing. Baking too soon results in under-proofed bread that struggles to rise, while waiting too long causes the dough to collapse. Use visual and tactile cues—such as the poke test—to judge readiness.
Understanding these baking errors is key to avoiding frustration and achieving consistently beautiful loaves. Avoiding what not to do with sourdough in these stages will set you up for success.
Poor Storage Practices
Leaving Starter Uncovered
Properly storing your sourdough starter is essential for maintaining its health. Leaving it uncovered can expose it to contaminants like dust, bugs, or unwanted bacteria. Over time, this neglect can weaken your starter, leaving it less active and effective for baking.
Always store your starter in a clean, airtight container. Ensure there’s enough room for it to expand without overflowing. Covering it properly not only protects it but also keeps it hydrated, preventing it from drying out.
Incorrectly Storing Baked Bread
After putting in all the effort to bake your sourdough, the last thing you want is for it to go stale or moldy too quickly. Storing sourdough bread in plastic bags traps moisture, which encourages mold growth, while leaving it out uncovered dries it out.
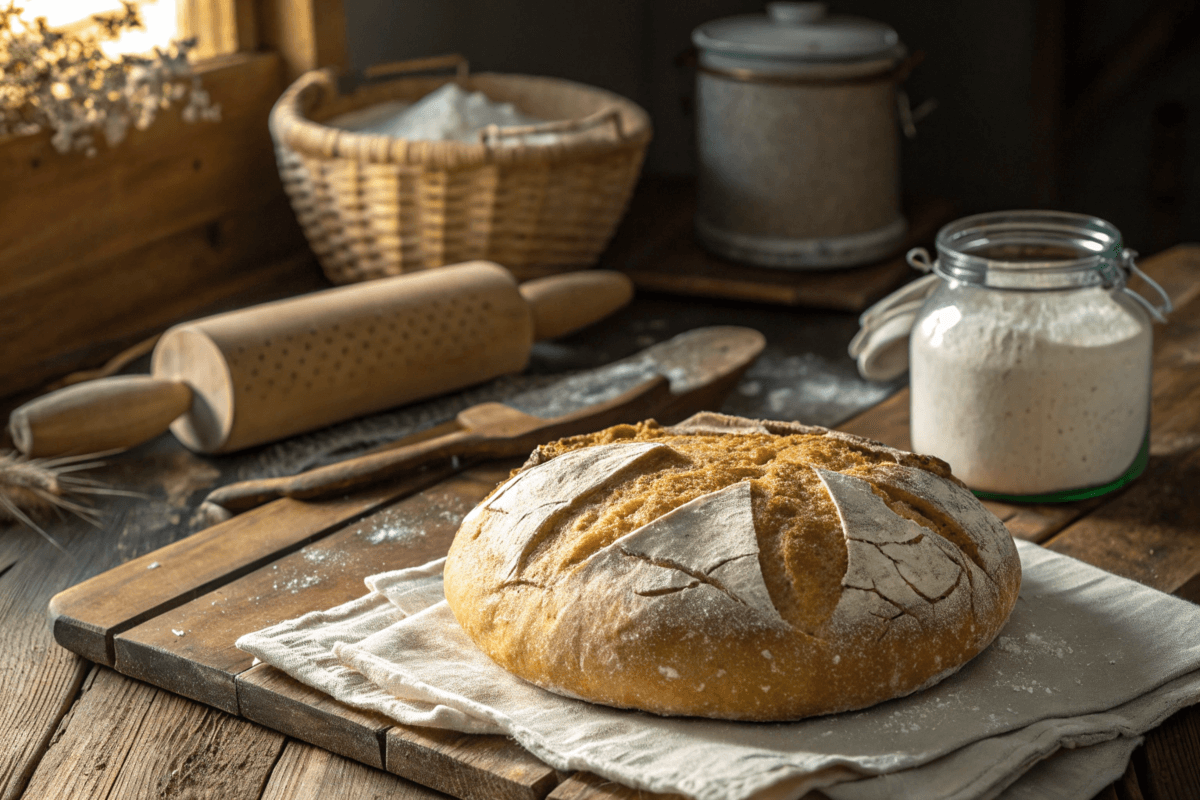
The best practice is to wrap your bread in a breathable material, like a paper bag or linen cloth. This keeps the crust crispy and the inside fresh for longer. If you’re planning to store the bread for more than a few days, consider freezing it.
Ignoring Storage Temperature for Longevity
Temperature also plays a key role in storage. Storing your starter at room temperature works fine for frequent bakers, but refrigeration is better for longer intervals. As for baked bread, keeping it in a cool, dry place helps extend its shelf life.
Learning what not to do with sourdough in terms of storage ensures your bread and starter stay in prime condition.
Wasteful Practices with Sourdough Discards
Discarding All Excess Starter
One common mistake is throwing away all the extra starter during feedings. While it may seem like waste, sourdough discard is incredibly versatile. It can be transformed into pancakes, crackers, muffins, or even pizza dough. Repurposing your discard not only reduces waste but also expands your baking repertoire.
Missing Opportunities to Use Starter in Recipes
Many bakers fail to plan their feedings efficiently, resulting in excess starter that often gets thrown out. By scheduling feedings based on your baking needs, you can minimize discard and make better use of what you already have.
Keep a small portion of discard in the fridge if you’re not ready to use it right away. It can remain viable for days, giving you more flexibility.
Overfeeding Without Planning
Feeding your starter excessively without considering how much you’ll actually use is another common pitfall. Overfeeding leads to unnecessary waste and an oversized starter.
To avoid this, only prepare as much starter as your recipes require. By managing your feedings, you’ll reduce waste and maintain a lean, active starter. Knowing what not to do with sourdough when it comes to discards can save time, ingredients, and frustration.

